I’m back to familiar territory and discussing all things CHOCOLATE today for this Valentine’s Day special edition of our Allergen-Friendly Baking Series. When I began Fork & Beans I quickly became known as the “Candy Lady” (if you scroll down this post you will see why). Making candy and tempering chocolate used to be something that intimidated me…until I actually did it. I then realized how easy it really was, I just needed to try it for myself. Now I am a huge lover of chocolate-making! See? Candy Lady.
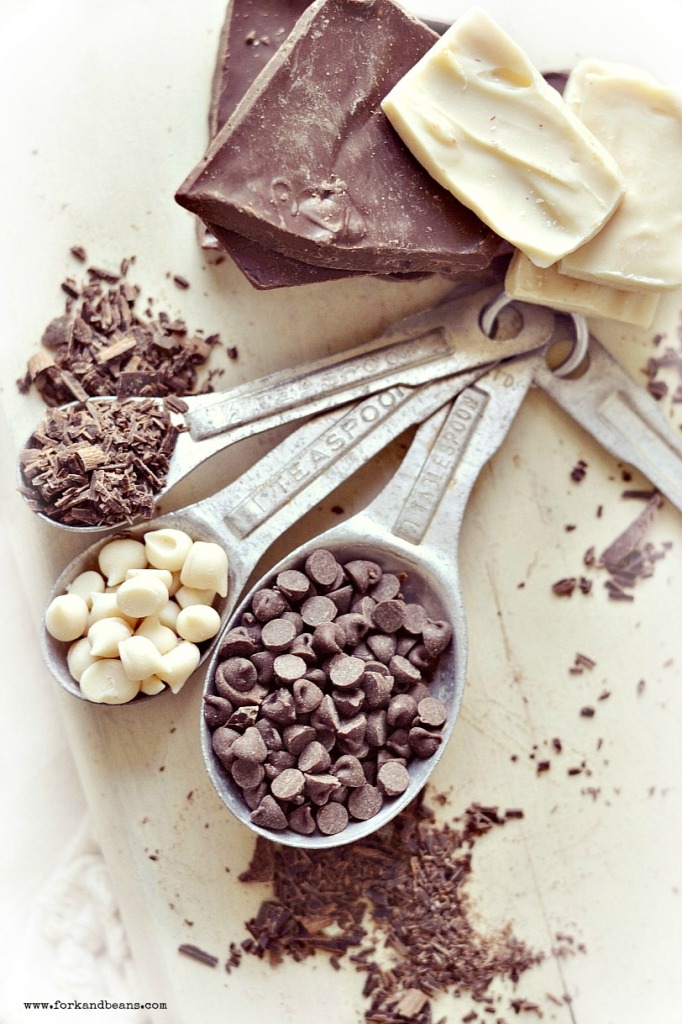
Part of the intimidating factor is thinking that you need tons of fancy equipment in order to for chocolate-making. In my opinion that is the fun of it all: The need to get creative without fancy equipment in order to accomplish the same result. Maybe that is just me but I’m known to stand in my kitchen staring at everything I own and ask myself the question, “What else can I use this for?” If you don’t enjoy doing things like that you are in luck because you have me to help! I personally don’t have a lot of specialized items in my kitchen, nor do I even own a double-broiler for melting chocolate but the great news is that you don’t need one. Simply use what you have! Here are three ways you can melt chocolate without the fancy equipment:
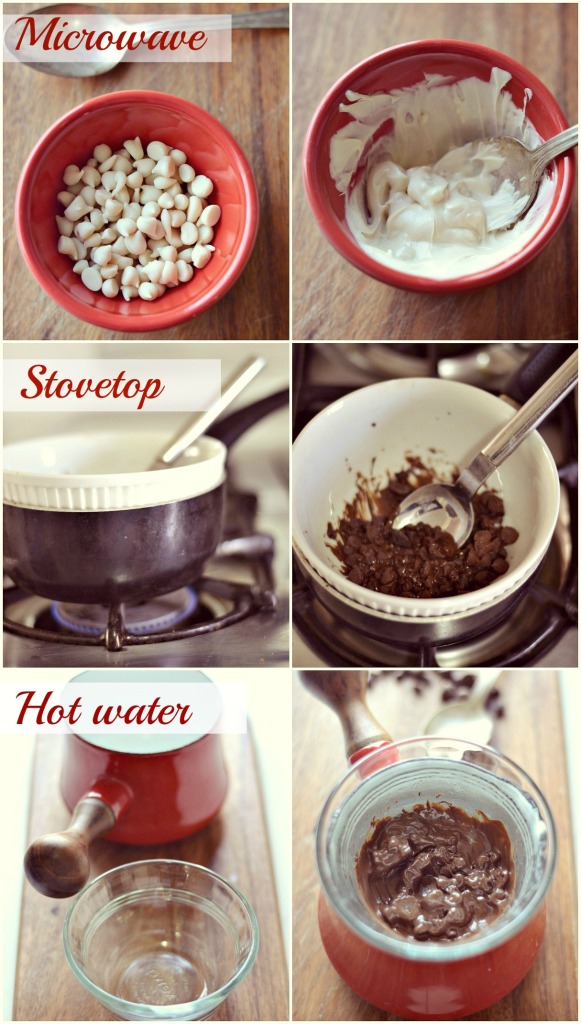
1. MICROWAVE – Yes, I know. Some people are completely against using a microwave. If this is you, scroll down to options 2 & 3 that will suit you better. For those that aren’t against it, place the chocolate in a microwave-safe bowl and set the timer for 30 second increments. Stir after each 30 seconds to assess the melt-age and to ensure that it melts evenly. Repeat for another 30 seconds. Take the bowl out just before the entire chocolate is melted for two reasons: If you burn your chocolate you are screwed and will have to start over; and the heat from the bowl will continue to cook the chocolate to further melt it.
2. STOVETOP – This is basically the function of a double-broiler. Place about an inch of water into a saucepan and place a heat-safe bowl on top. Make sure that it sets securely on the pan and doesn’t sink in. Turn the heat on medium low and place the chocolate in the heat-safe bowl. Once it starts to melt, stir constantly with a spoon until just melted. Just make sure that you use oven mitts to remove the bowl out of the saucepan.
3. HOT WATER – This is same idea as the stovetop method. Boil water and place into a pan that fits a bowl big enough to sit nicely on top. Do not fill up too high with water because it will spill over. Place the chocolate in the bowl and allow to sit for a good minute and then begin to stir until completely melted. The heat from the water will warm up the chocolate and allow for it to melt.
Extra tip: For every 1/2 cup of chocolate to melt, I like to add 2 tsp. of either refined (because it does not taste like coconut) coconut oil or non-hydrogenated shortening to create a smooth texture and beautiful shine to the chocolate.
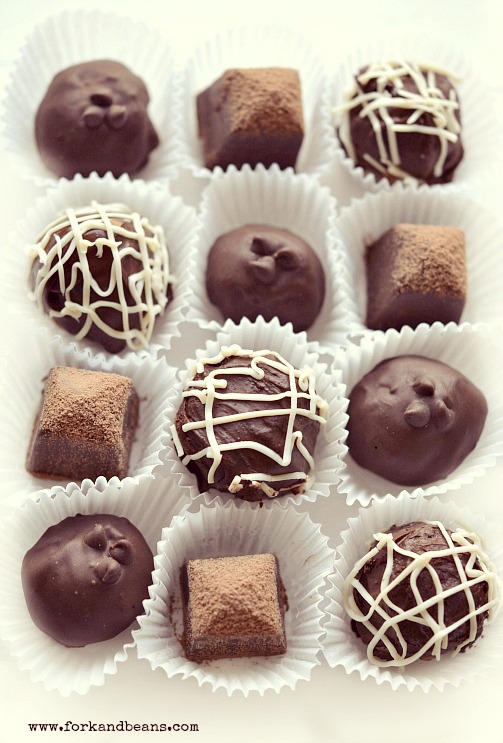
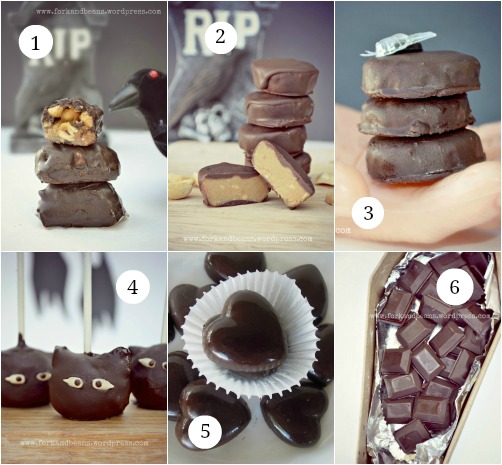
These homemade truffles are a fun mix of using a chocolate mold and hand-dipped.
Now for creating the shapes for your chocolates, you have a few routes to go down…
Shaping your chocolate:
CHOCOLATE MOLDS – A great way to find affordable and super cute chocolate and/or candy molds is to simply Google it. I love buying mine on Etsy.com or visiting local arts and crafts stores that carry them. There is something fun about the professional look that molds give your chocolate. .
HAND-DIPPED – A great way to save money (and space for storing chocolate molds), hand-dipping your chocolates is a great way to give your homemade treats that unique and well, homemade look. Sometimes not looking so perfect is better!
PANS & TINS – This is an easy way to create shapes with the equipment you already have. Test out by using small baking pans, muffin tin pans, or even baking sheets to help you make bars and molds. My recommendation always is to have parchment paper handy to line the pans for easy removal. For recipe and technique reference on using a pan for creating a mold, check out this, this, and this.
Want to take a stab at making your own chocolate at home? Maybe you can surprise your family and loved ones this Valentine’s Day with homemade chocolate! Here are tons of recipes you can use to recreate your favorite candy bars in the comforts of your own kitchen:

Gluten-Free Vegan Chocolate Bar Recipes
1. Baby Ruth
2. “Honeycomb”
3. Kit Kats
4. Rolos
5. 3 Musketeers
6. Andes Mints
7. Almond Joy
8. Twix Bars
9. Candy Cane White Chocolate Kisses
11. No-Bake Twix
12. Snickers
13. Heath Bars
14. Whatchamacallits
15. Butterfingers
17. Junior Mints
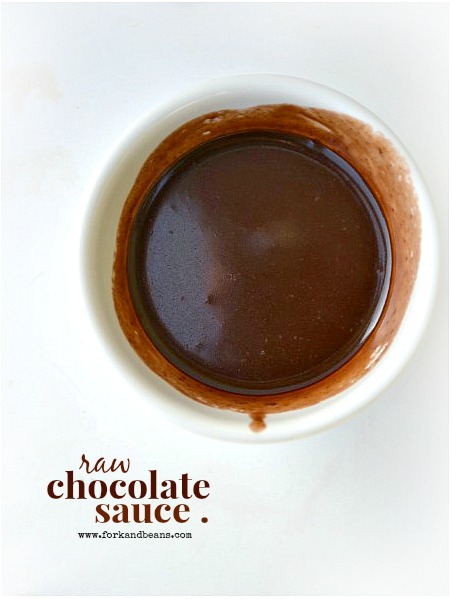
Or we can take a different direction and go down the healthier route: Concerned with the ingredients in store-bought chocolate? You know I got you covered! Here is a great raw chocolate sauce recipe that is a perfect dessert for fruit dipping this Valentine’s Day.
OR check out these Raw Candy Bar Recipes (as you can tell, I made most of these for Halloween however they are easily translatable for this Lover’s Day holiday).
All-Raw Candy Recipes:
1. Snickers Bar
4. Cake Pops
Okay friends, you now have all the tools needed for chocolate-making in your home. I cannot wait to see all of your fun, homemade creations this coming week! Did I leave something out? Leave a comment below and let’s talk about it!

The post Allergen-Friendly Baking 101: Chocolate-Making appeared first on Fork and Beans.


